 There’s something about running your own infrastructure that makes sense once you’ve been collecting data for long enough. Not in a paranoid way - just practical. When you’ve got over 2TB of personal stuff spanning 25 years - photos and videos from the ’90s, documents you’ve saved over the years - you start caring about where it actually lives. Add an extensive media library of over 30TB and a growing collection of more than 100 home sensors, and the question shifts from “should I run a homelab?” to “what’s the right way to build one?”.
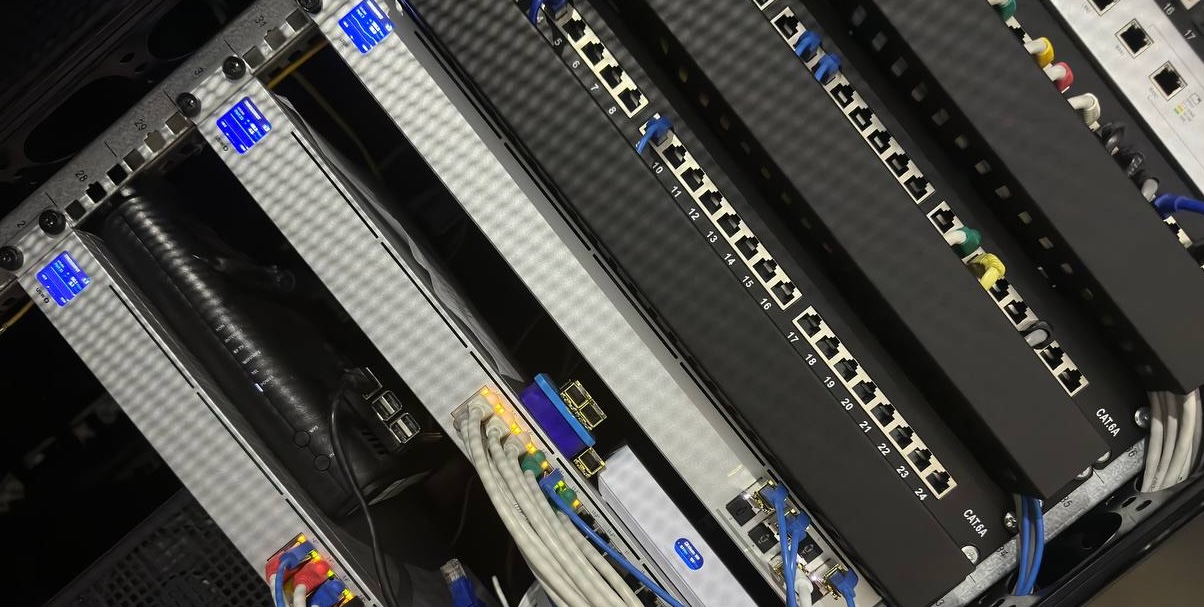
So this Christmas, I decided it was time for a major overhaul. My lab had been running on two main servers that, while functional, represented the kind of incremental decisions you make over time rather than a cohesive design.
The Proxmox server was doing the heavy lifting: an Intel-based system with an i3 processor, 128GB of RAM, and 4TB of redundant SSD/NVMe storage. Capable, but pulling around 100W continuously - not terrible, but not efficient for what it was actually doing most of the time.
The NAS server ran Unraid on more modest hardware: an Intel Celeron N5105 with 16GB of RAM, built around one of those Chinese motherboards you find on AliExpress when you’re optimizing for price and power consumption. It pulled about 60W, which was reasonable, but the whole setup felt fragmented - two boxes, two power draws, two points of potential failure (or redundancy, depending on how you view it), and an architecture that had evolved rather than been designed.
Together, they worked. But pulling 160W constantly when everything sat idle most of the time? That felt wasteful. Add the constant need to export shares through NFS from the NAS to the Proxmox server - a process that didn’t always work flawlessly, either because of Proxmox or Unraid - and honestly, I was tired of dealing with it. Time to start over.
THE BUILD
So the first big decision came down to what I actually needed. I’ve got a 42U rack in the basement where all my gear lives, so space wasn’t the problem. But I started thinking - why not go compact? Just because I have the space doesn’t mean I need to fill it.
Price mattered, obviously. But I had some hard requirements I wasn’t willing to compromise on:
- No Chinese white-label boards. I wanted something mainstream, from a brand I could actually replace if things went wrong. Those AliExpress specials work until they don’t, and then you’re stuck.
- ECC memory support, up to 128GB. If I’m running critical stuff 24/7, I want error correction. And 128GB gives me headroom for whatever I decide to spin up later.
- Micro-ATX form factor. Compact but not cramped. ATX felt like overkill, Mini-ITX too limiting.
- 8 SATA ports. I needed room to grow the storage without adding cards right away.
- 2.5GB Ethernet onboard. Not negotiable. Gigabit is fine for most things, but when you’re moving media files around, that extra bandwidth matters.
- At least 3 PCIe slots. Future-proofing. Nvidia card for AI workloads, maybe a 10GB NIC down the road, whatever else I might need.
THE MOTHERBOARD
The first real decision was the processor architecture. All my previous builds were Intel-based, mostly because setting up transcoding with Intel QuickSync is straightforward. It just works.
But here’s the problem: finding consumer-grade Intel motherboards with ECC support? Almost impossible. That’s locked behind Xeon platforms and enterprise pricing. And I wasn’t going to spend enterprise money for a homelab.
So I went AMD. Specifically, socket AM4. Yeah, it’s a few years old now, but for what I needed? Perfectly fine. The platform is mature, parts are available, and it does ECC without forcing me into workstation territory.
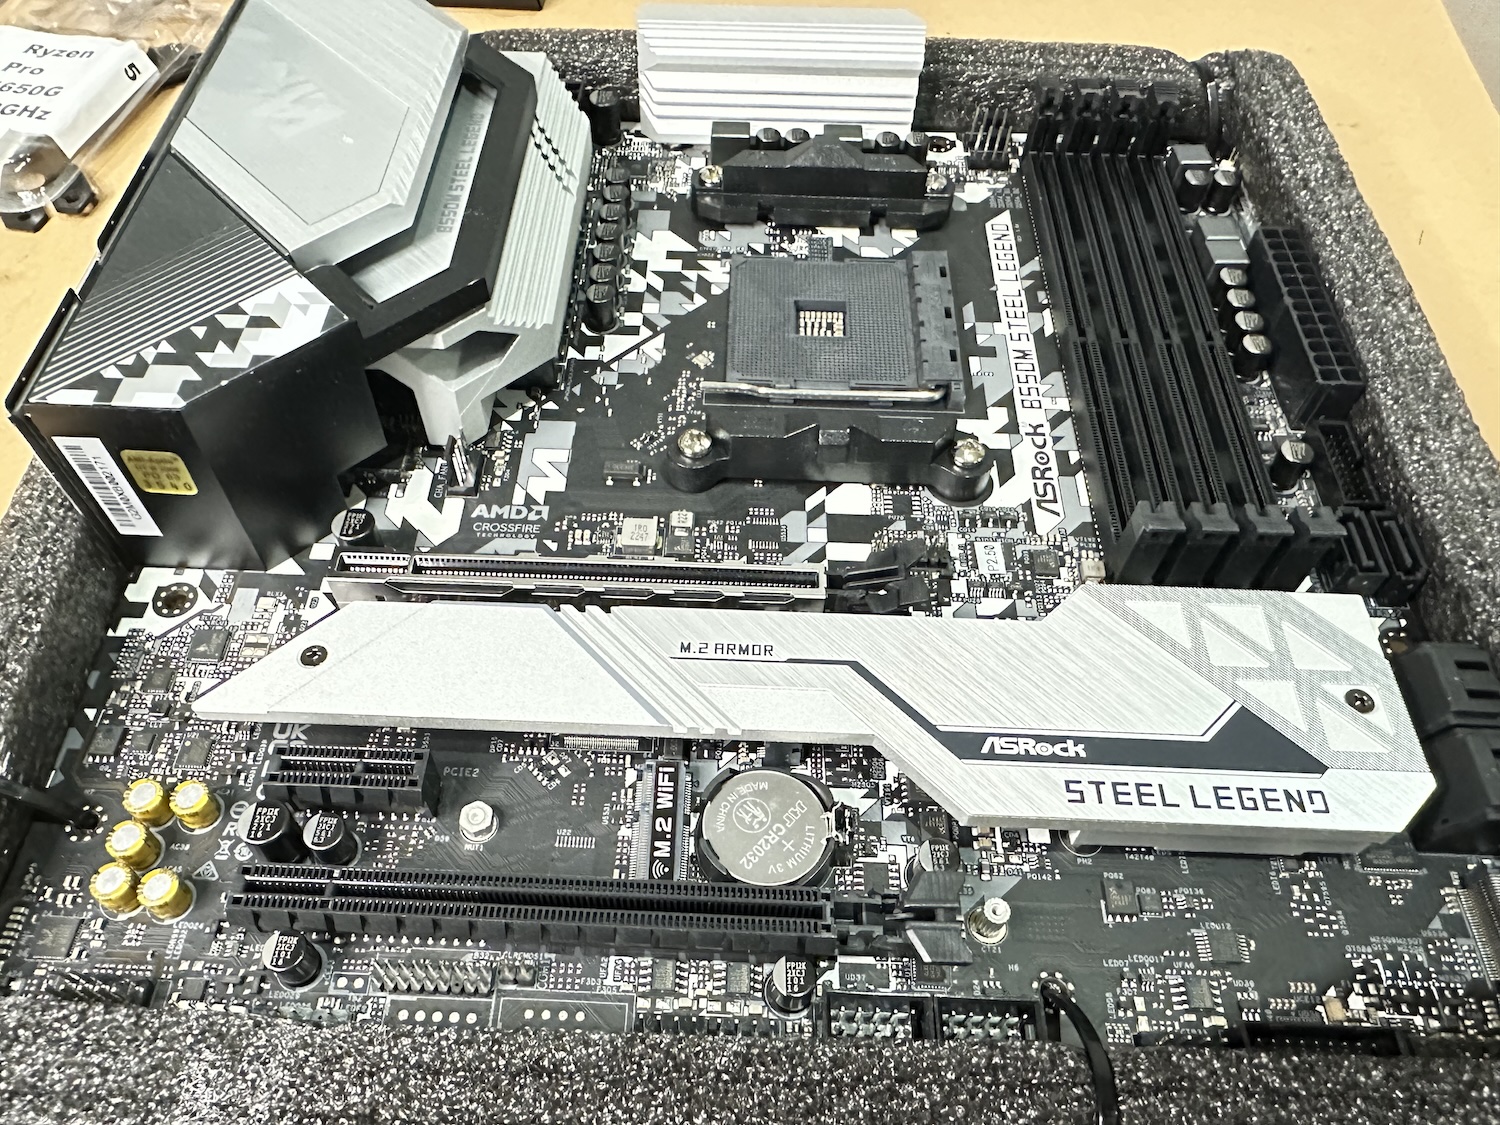
My choice: the ASRock B550M Steel Legend. Perfect board for what I needed.
 Core Platform:
- Socket AM4 (supports Ryzen 3000/5000 series)
- AMD B550 chipset
- Micro ATX form factor
Memory:
- 4x DDR4 DIMM slots
- Up to 128GB total
- ECC memory support (confirmed)
- Speeds up to DDR4-4733+ (OC)
Storage:
- 6x SATA ports (not quite the 8 I wanted, but close)
- 2x M.2 slots (one PCIe Gen4 x4, one Gen3 x4/SATA)
Expansion:
- 1x PCIe 4.0 x16 (steel-reinforced)
- 1x PCIe 3.0 x16
- 1x PCIe 3.0 x1
Networking:
- 2.5Gb Ethernet (Realtek RTL8125BG)
Important note:
There are tons of motherboards out there that claim to “support” ECC UDIMMs, but here’s the catch - they’ll accept the memory modules physically, but won’t actually run them with ECC enabled. The board just treats them like regular non-ECC RAM. So you end up paying extra for ECC memory and getting zero benefit from it. The error correction is sitting there, turned off, doing nothing.
This is why I specifically chose the B550M Steel Legend - it actually enables ECC when you use ECC memory. Not just “supports” it in the sense of “the stick fits in the slot.” You need to verify this before buying. Check the motherboard’s QVL (Qualified Vendor List) or look for confirmation in user reviews and forums. Don’t just assume “ECC support” in the specs means the feature actually works.
THE CPU
Next up: the CPU. And this is where things got tricky. You’d think finding a CPU would be straightforward, but when you need all four of these things at once, the options shrink fast:
- ECC support - not negotiable
- Integrated graphics for transcoding - because I’m not wasting a PCIe slot and power on a dedicated GPU just for Plex or Jellyfin
- Actually affordable - I’m not paying workstation prices
- Available to buy - turns out this is the hardest part
Out of five CPUs that tick all these boxes (Ryzen 3 Pro 4350G, Ryzen 5 Pro 4650G, Ryzen 3 Pro 5350G, Ryzen 5 Pro 5650G and Ryzen 5 Pro 5750G) , I managed to find an AMD Ryzen 5 PRO 4650G. Not the newest, not the fastest, but it does everything I need. ECC support, Vega graphics for hardware transcoding, reasonable price, and most importantly - I could actually buy one. Wolfgang has an excellent video breaking down just how complicated this choice is. Worth watching if you’re going down this same path.
THE CASE
Mini-ITX NAS cases? Plenty of good options. Fractal Node 304, Jonsbo N2 and N3, Silverstone, plus a bunch of no-name brands on Amazon and eBay. But compact Micro-ATX cases that can fit 6+ hard drives? Good luck. They basically don’t exist. The market just skips that category - you either go tiny with Mini-ITX or jump straight to full tower cases with room for a dozen drives.
My best option was the Jonsbo N4 Black. Looks great - that wood front panel is nice - but in practice, it’s a mess. The wood panel is fragile. Inside, the layout is cramped. When you install the PSU, the cables press against the drives and pinch the SATA connectors. Cable runs are longer than typical SFF cases, and depending on your motherboard and PSU combo, the 24-pin and EPS cables might not even reach. Cooling is bad. One fan for potentially six hard drives and two SSDs. And there’s no way to add another fan in the motherboard area. So your drives just sit there cooking.
It looks good in photos. That’s about it.
I looked at a bunch of alternatives and eventually found this:
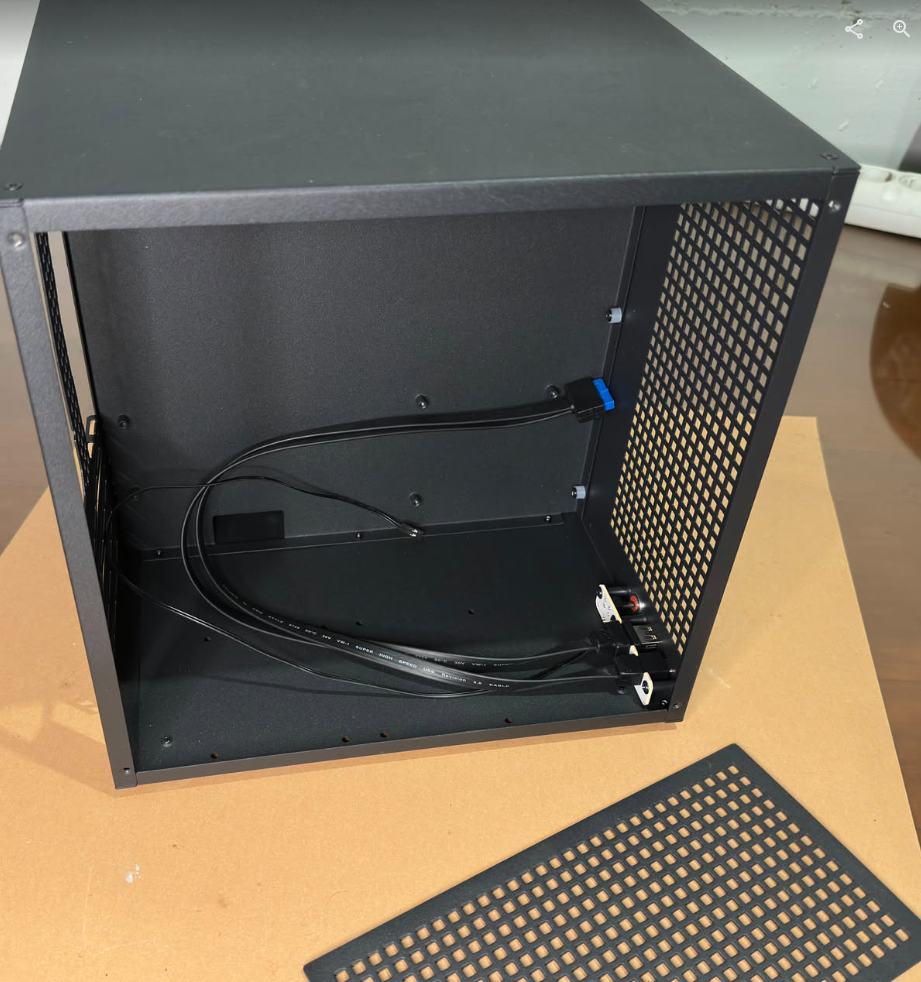
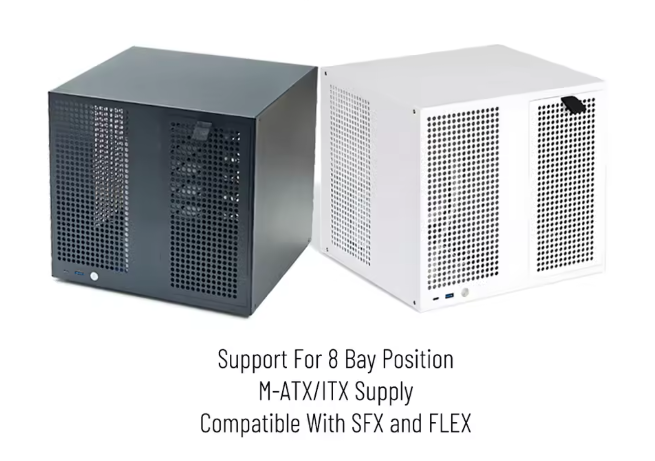 This is the Sagittarius 8 bay Nas case from AliExpress it can fit a Micro ATX motherboard a full size ATX power supply and eight 3.5 in hard drives. It’s also got a dual chamber cooling design with mounts for four 120 mm fans in total, four full-size PCI slots and all of that at a similar footprint to the Jonsbo.

ADDITIONAL HW
Beyond the core components, you’ll need a few extras to make this work.
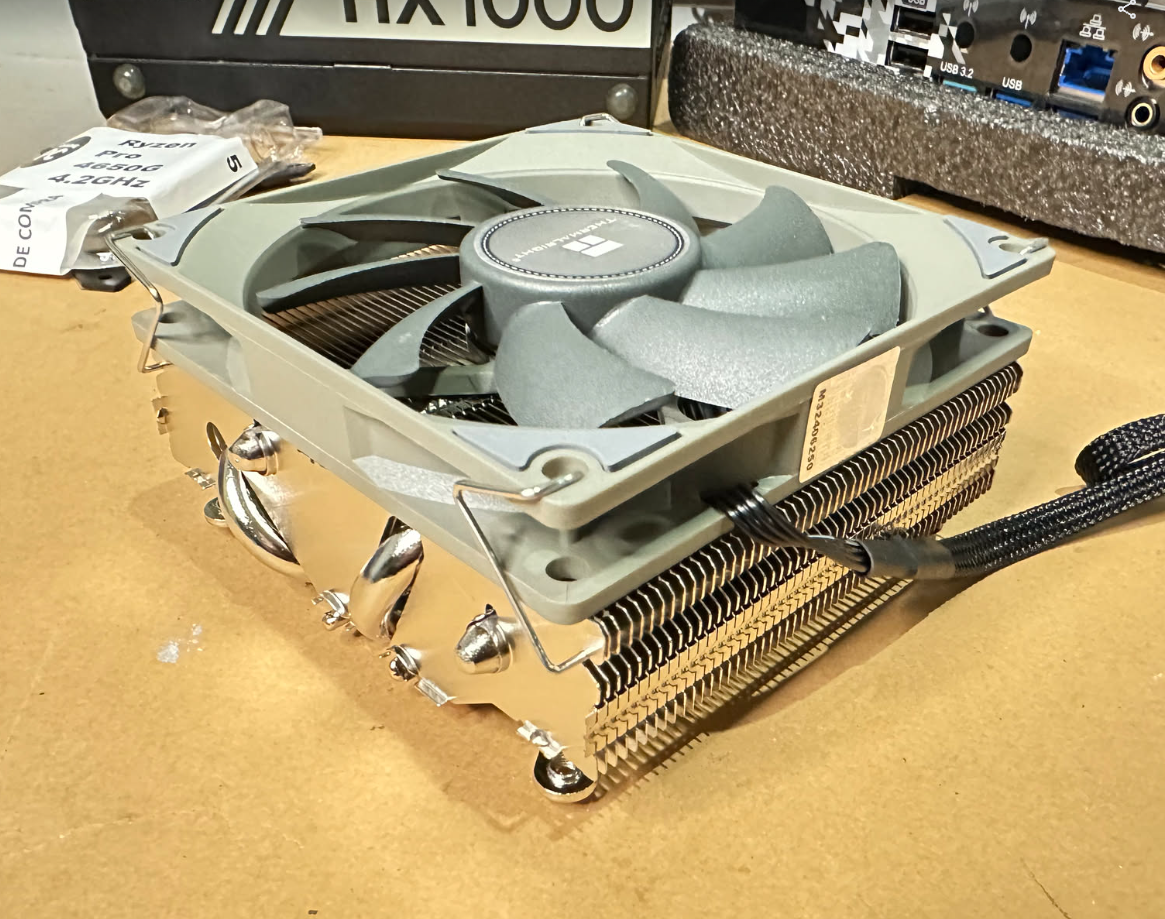
The CPU Fan
For this build, you need a really low-profile CPU cooler. The ATX PSU sits directly above the motherboard with barely any clearance. A standard tower cooler won’t fit. I went with the Thermalright AXP90 X47 - 47mm tall, 90mm fan. Got it on Amazon. Does the job without hitting the PSU.
Fan Extention cables
You’ll also need to connect the fans to the motherboard. Way simpler with fan extension cables. I grabbed these from Amazon.
Case Fans

For the main case fans, I went with ARCTIC P12 Pro. They’re 3000rpm PWM fans with good static pressure. You can control them through the BIOS or directly from the OS, which makes tuning the noise vs. cooling easy.
PSU
From my mining days, I still had a few modular ATX Corsair PSUs sitting around. For this build, get a modular one. Otherwise, you’ll be fighting a mess of extra cables in an already tight case. Yeah, you could cut the cables you don’t need, but why make it harder than it has to be? Just go modular.
Thin SATA cables + SATA PCIe card
The motherboard connects to storage via SATA. The case’s backplane only supports this, so you need thin SATA cables running from the motherboard’s 4-6 SATA ports to the drive bays. Simple enough.
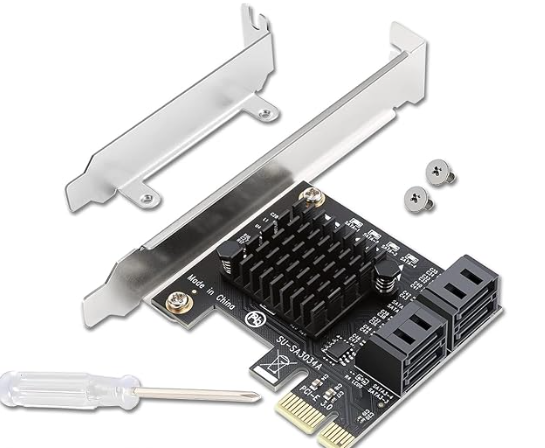
But six SATA ports isn’t enough. You need to expand. Two ways to do this:
Option 1: PCIe SATA card (what I went with) - AAdds more SATA ports with no real trade-offs. You can get 4, 6, or even 8 ports. You could argue about the bandwidth you’ll get from PCIe 3.0, but it’s more than enough for 3.5" mechanical drives - assuming you’re not writing at full speed to every port at the same time (which you won’t). It’s a clean solution.
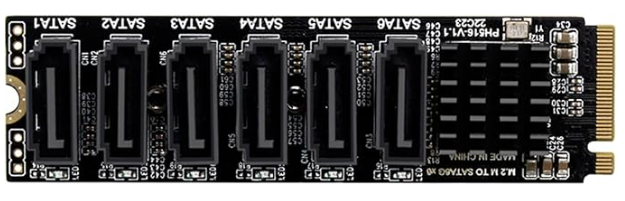
Option 2: M.2 to SATA converter - Uses one of the M.2 slots on the motherboard and converts it to 4 or 6 SATA ports. The catch? On this board, using that M.2 slot disables SATA ports 5 and 6. Not a problem because you will end up with 8+ SATA ports available.
I went with the PCIe card, with for additional SATA ports but, later I regret this decision (I’ll explain below). Just make sure its a PCIe 3.0 card.
The NAS OS
For the OS, it comes down to two real options: TrueNAS or Unraid. Completely different philosophies.
TrueNAS runs on ZFS. You organize disks into vdevs and pools. Requires planning upfront - you can’t just throw random drives in later. Rock solid, great performance, but rigid.
Unraid is basically an array with mixed drive sizes, protected by 1-2 parity disks. No striping. Each file sits on a single physical disk. Super easy to expand - just add any bigger drive whenever. But you don’t get the same data integrity or sequential performance as ZFS unless you add a fast cache disk.
Arguing which is better is outside the scope here. Both work. Different trade-offs. I went with UNRAID several years ago. Still very, very happy with the decision.
Part of why I chose Unraid showed up now when I had to migrate everything to completely different hardware. These migrations are always stressful - losing 30TB of data and having to pull it all back from the cloud would be expensive and painful.
With Unraid, it’s simple. You just note the serial numbers of your disks (visible right in the interface) and make sure they appear in the same order on the new hardware.
Doesn’t matter which SATA port you plug each disk into - you just map them in the right sequence when you configure the array for the first time on the new box.
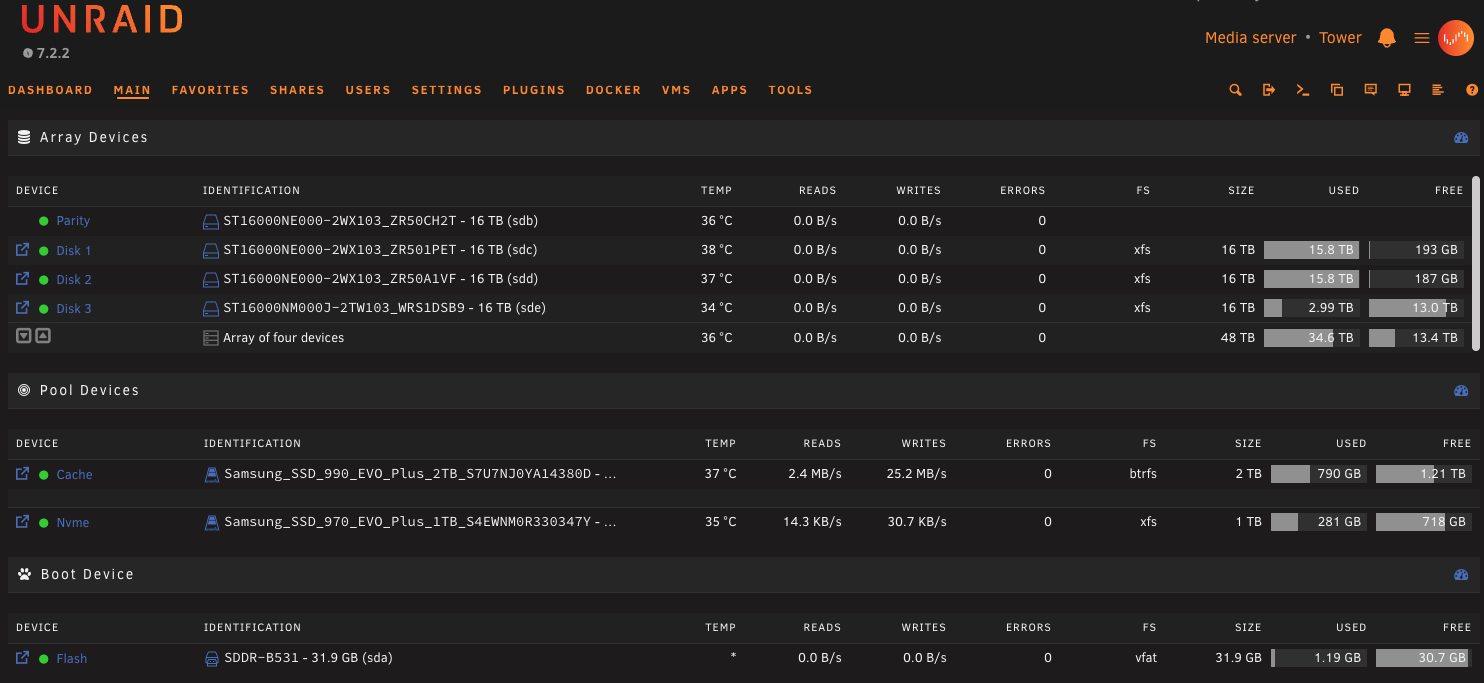 That’s it! Done!
Finally, the thing that made me nervous: leaving Proxmox behind.
I love Proxmox. For years, the simplicity of managing VMs and the clean, efficient interface just worked. Easy to spin up VMs, LXC containers, backups, roll-backs. In over 5 years of running it, it never let me down.
Looking at Unraid’s virtualization options, it’s clear it’s not as mature as Proxmox. But here’s the thing - Unraid isn’t trying to be a pure hypervisor. It’s a NAS with virtualization features. And honestly, I don’t need most of Proxmox’s enterprise stuff - CEPH, clustering, all that.
After a trial run, I’m good with what Unraid delivers. The interface is simple. I can run docker containers directly (really easily, with a solid marketplace built in). I can set up VMs with full hardware passthrough. Snapshots with one click. Recurring backups without drama.
It’s not Proxmox. But for a homelab NAS that also needs to run some VMs? It does the job.The apps I’m actually running are out of scope for this article. That’s coming in a follow-up post.
THE CHALLENGES
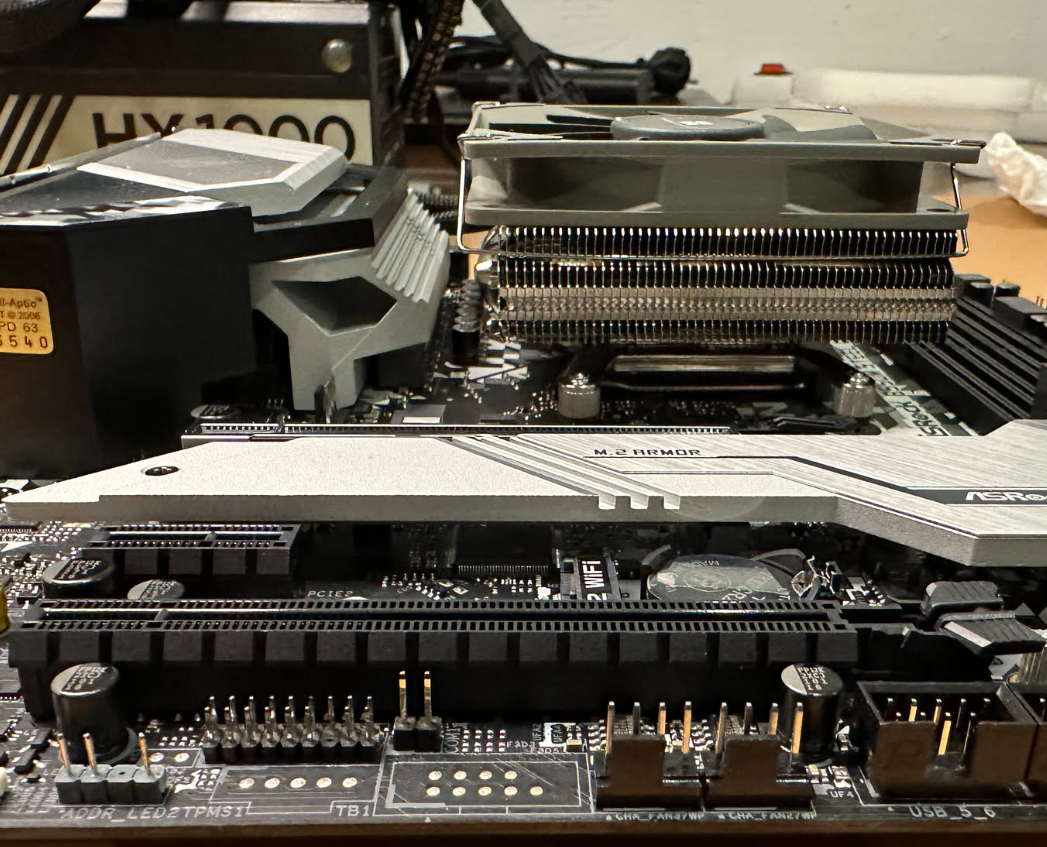
One reason I picked this board was the 3 PCIe slots. In my head, the plan was simple:
- PCIe x16 for my GeForce RTX 4060 (16GB VRAM)
- PCIe x1 for the SATA expansion card
- PCIe x16 for whatever came up later - maybe a 10Gbps NIC
When I went to install the Nvidia card, I forgot one thing: it’s 2.5 slots wide. Most boards space the first and second PCIe slots two slots apart, but my GPU was thick enough to block the x1 slot completely. So I had to move the SATA expansion card down to the last PCIe x16 slot. Annoying, but not a deal-breaker.
If only the problems stopped there.
When I ran performance tests, write speeds to the NAS were terrible - under 1Gbps. But reads were fine. I could saturate the 2.5Gbps NIC without issue (my network runs on a UniFi switch with 10Gbps ports).
The problem wasn’t the local storage either. I was writing to NVMe, which has way more bandwidth than the network could ever use. So what was it?
Turns out, Unraid has a well-known issue with Realtek NIC drivers. And the motherboard’s onboard 2.5Gb port? You guessed it - Realtek.
Long story short, I had to install a 10Gbps Intel NIC earlier than planned. Write speeds immediately saturated the 10Gbps link. Problem solved - except now I had to remove the GPU to fit both the SATA expansion card and the 10Gb NIC.
When I actually need to use the RTX 4060, my plan is to pull the PCIe SATA card and use the M.2 to SATA converter instead (mentioned above). That frees up a PCIe slot so I can run the GPU and still have 8 SATA ports for the drive bays.
Not ideal, but it works.
THE POWER CONSUMPTION
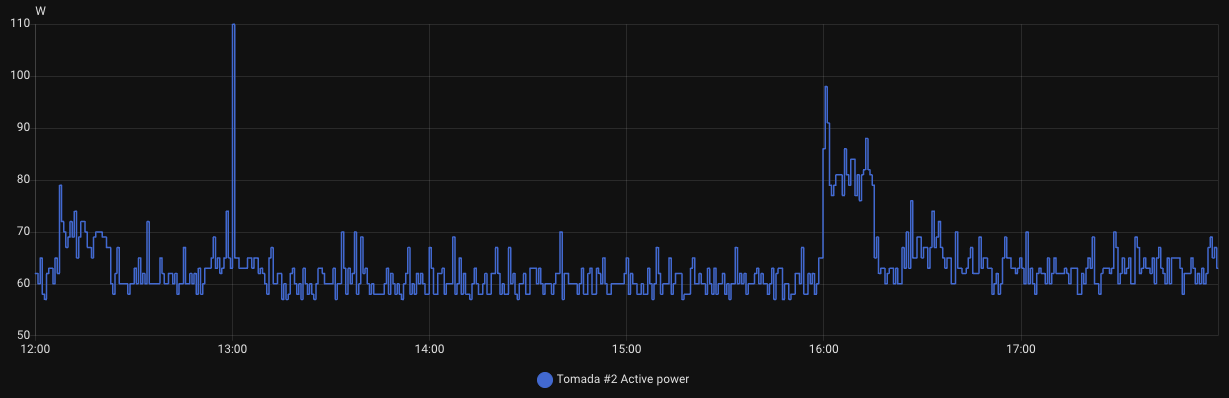
Power consumption? Really happy with the results.
With all the hardware installed but no workloads running, I’m seeing a baseline of 45-50W. When everything’s actually working - including FrigateNVR processing 7 x 4K CCTV cameras with real-time CPU transcoding (using VA-API) - average consumption sits around 60W, with occasional spikes to 70-80W.
Right now I’m running over 20 docker containers plus a VM with HomeAssistant, all 24/7. Compared to the old setup with the Celeron N5105 NAS, the power savings are clear. I’m at the same 60W, but I’m not running a second Proxmox instance pulling another 100W. So basically, I went from 160W total to 60W. Same functionality, less than half the power.
Hope you enjoyed reading this as much as I enjoyed building it. If you need help with your own setup, hit me up on LinkedIn.